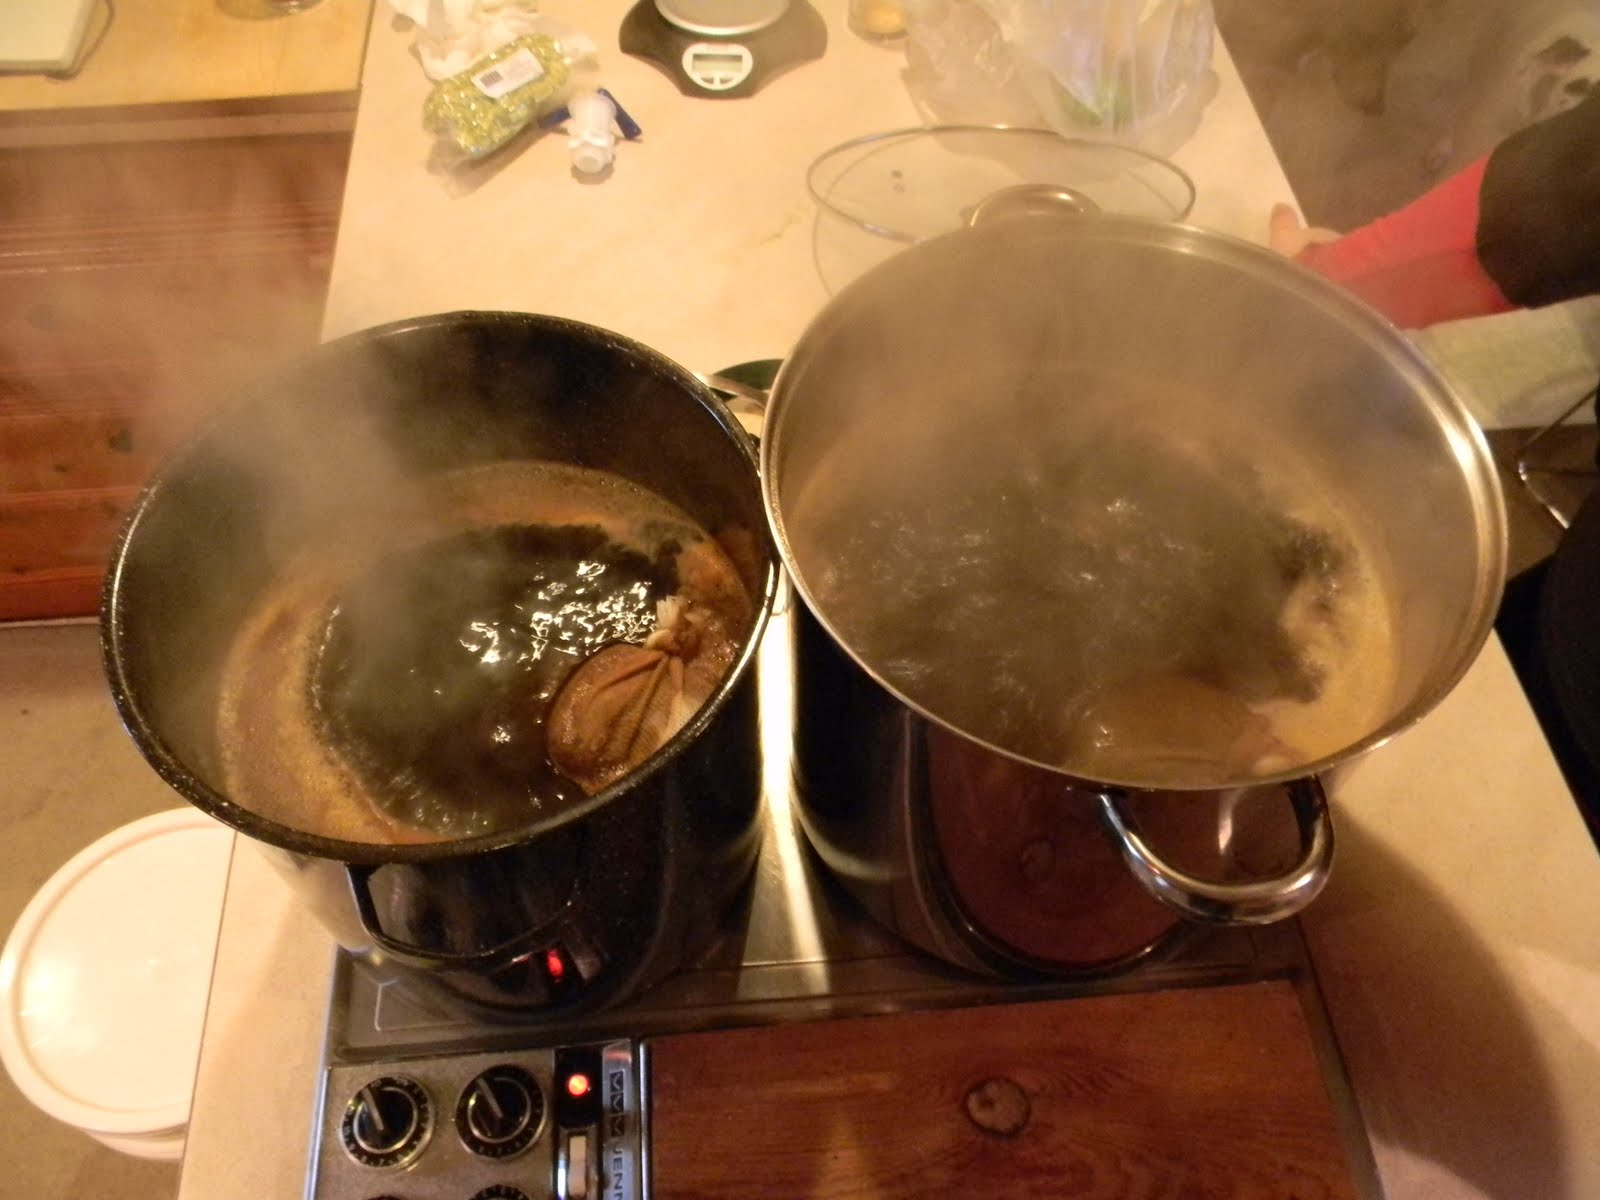
Thursday, March 3, 2011

Cascadian Juniper Ale


New Brew Set-up!!

Old Brew Set-up!!

We made more beer! This time I borrowed a friends 5 gallon pot, overfilled it and then had to split the batch up; 3 gallons in the 5 gallon pot and then 1.5 gallons in my two gallon pot. It was a hassle having to split up the ingredients and the boil so I got inspired to go and get myself a new kettle. I purchased a new keggle from a guy how makes them in town. It was a very good price for what I got and it has never been used before. It is a 1/2 BBL kettle with hop screen/false bottom attached to a 1/2 inch spigot about 3 inches above the bottom.


This will help facilitate in removing the hop particles as well as the hotbreak and some of the cold break too since I will be chilling in my kettle when it all said and done. There is also I nice thermometer attached the side in the middle of the kettle. This this is perfect for my cause. I also bought a 58,000 BTU propane burner and stand to get the job done. I can efficiently make a 10 gallon batch now.


To upgrade to a complete AG system I need to purchase a Mash Tun and Hot Liqour Tank. That can be done with getting two 10 gallon round Igloo coolers. I have seen people using rectangular coolers but I must disagree with using these as a mash-tun because when you stir your grains you are going to risk damaging the hulls as well as aerating the extract within if there are angles inside the vessel. You also want there to be a homogenous creation of a grain bed and a homogenous surface area for your filter. That is why false bottoms are circular and take up the entire bottom of the grain bed in commercial breweries.

So on to the recipe:

6.6 Lbs of Liquid Dark Malt Extract
3 Lbs of Dried Dark Malt Extract
(added after boil)

.25 Lb of chocolate Malt
.25 Lb of caraffa
.5 Lb of crystal 120 L
(steeped at 150 for 20 minutes, brought up to 165 and removed)

Hop/adjunct Schedule:

2 oz of domestic cluster pellets (6.9% AA) at 60 minutes
2 oz of cascade 2010 whole leaf (8.6% AA) at 15 minutes
1 tsp of Irish moss at 15 minutes
.5 oz of crushed juniper at 15 minutes

2 oz amarillo 2010 whole leaf (11.2% AA) into funnel and then the kettle was drained on top of this hop filter and into the fermenter where it was chilled. I got it down to pitching temp in 25 minutes and I had a 4 gallon boil. There was snow outside though so that helped.
I used Northwest ale yeast and pitched at 60 deg F which is a little lower than I would have liked. Also I do not feel as if I aerated enough before pitching due to a long Lag phase with in the first two days of fermentation. The lag phase is where the yeast are getting used to their environment and are using up the rest of the Oxygen present to respire and grow in their new environment. If there is not much O2 present (8 ppm is optimum) then there is going to be a longer growth phase in order to get the yeast to the proper amount for fermentation. In homebrewing this is something good to remember:

It will take 30 flips of the fermenter in order to get the proper amount of dissolved Oxygen in your wort. What this means is that if you take your glass carboy and flip it upside down 30 times, the headspace inside the fermenter will give you the amount of oxygen in your wort that you need. This is not possible so the alternative is to splash the wort into the fermenter vigoursly and then to stir for about 5 minutes.

Point being.........aeration is very important in the fermentation process.


Ahh Nature

Thursday, February 10, 2011

Siebels Course: Water the universal Solvent

I have completed modules 1 - 9 which span from brewing history, biochemistry, brewing water, all the ingredients to making beer, mashing, lautering and evening malting. This course is awesome so far and the tutors are very quick to respond to any question you might have. Some of the best things I have learned but not yet applied to my homebrew:

I will start with water for now and then try and update a with other lesson overviews

Testing my water for its pH and salt levels. The pH is a measure of the concentration of calcium and magnesium salts in your water. With this being said you can alter the pH of your water by adding different salts like gypsum into water brewing water before mash in order to give the enzymes proper acidity to do their job. The target pH range for your mash is going to be 5.2-5.6. Any higher you are risking a stuck fermentation, lose of malt enzyme activity, hard taste and a lower extract from your malt.
I would also love to be able to filter out the chlorine once again but our sink will not fit a PUR filter or any other adaptor and I'm not about to go buy a charcoal filter. Another alternative is to just let your water sit out over night and the chlorine should evaporate out. I checked with the city water and our water is hard but not hard enough for most breweries in town. Other than adding a little gypsum, baring weather or not I was trying to replicate a certain style (like pilsner from pilsen, or burton on trent) the water in Bend is pretty awesome. As a partial grain homebrewer, like most I have not really given much thought towards my water. When In Boone I used purified spring water in the kettle and I did not do a mash because I did not and still don't have the equipment for all-grain. Cory if you are reading this, did you do any kind of water adjustment while in Boone for your mash?
In Portland, I bought a PUR filter and used that for the kettle, and since I moved to Bend, I have just used the tap water without any adjustment. As soon as I get the equipment I will pay more attention to my brewing water. But for now I think I should be fine. So far I have learned a lot of good techniques on how to remove carbonates from your water, how to reduce water consumption (there is about 6 hl of water used per hl of beer sold in a brewery), and how water reacts with other molecules. Water is a universal solvent meaning that it has a negatively charged O atom and two positively charge H atoms. This is helpful in the brew house when it comes to adding your brewing salts for example.

Cheers

Tuesday, February 8, 2011

New Post

It has been a month since I have posted anything so I want to post something now! I have been busy taking my commercial brewing course and actually have just not had anything time or money to go get some ingredients for beer. I think I will make a new batch in a week or so because I want there to still be some winter left when the stout is ready. I have not decided on what to make just yet but I think i want to involve some of the following things:

dark malts or something with a lower attenuation rate/fermentability in order to get a fuller body beer. eg. John bull or Laaglander extracts

juniper berries

maple syrup

bayberry bark, chamomile, or some type of gruit (in conjunction with or in place of hops)

Chocolate or cocao nibs

Coffee grounds either in a cold press after fermentation or hot press before fermentation

What do you think?


Wednesday, December 29, 2010

Boneyard Beer, Armored Fist

We tried to find the newest brewery in town tonight, and it did take a while. It was dusting in town and we passed by the establishment multiple times before we actually found it, but once we did it was as if we had found our savior. At first glimpse the building looks like a garage of sorts, there was even a guy frying up some fish tacos up outside in the snow. Once we entered from the snowy tundra outside there was an instant feeling of "YES". There was nothing in this room besides beer taps and stools. In my opinion this place is barebones and rightfully so. They know what matters and they respect their craft. After sampling a few of their brews, including a slightly sour brown/red ale, a very mild wheat beer and then the newest addition, their RPM IPA, we settled on the colabo from Three Floyds and Boneyard called "Armored Fist".
It has the nose of an IPA, the malt profile of a brown ale and then the ABV of a barley wine. With first sip you get a delicious citrusy and grapefruit character that sticks around after the swallow and then finishes with a slightly dry burn from the alcohol. This beer leaves a very distinct off white lacing on the glass and maintains its head throughout the full beer and leaves you wondering how they hid that 10% ABV so well.

Cheers